
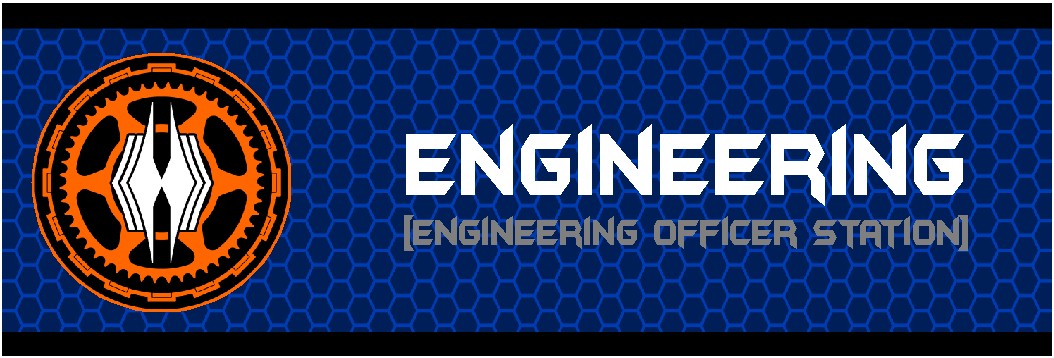
Rack __, Seat 6
- Power / Energy Production & Energy Levels
- Coolant system
- Announce Ship Status
- Repair Sub Systems
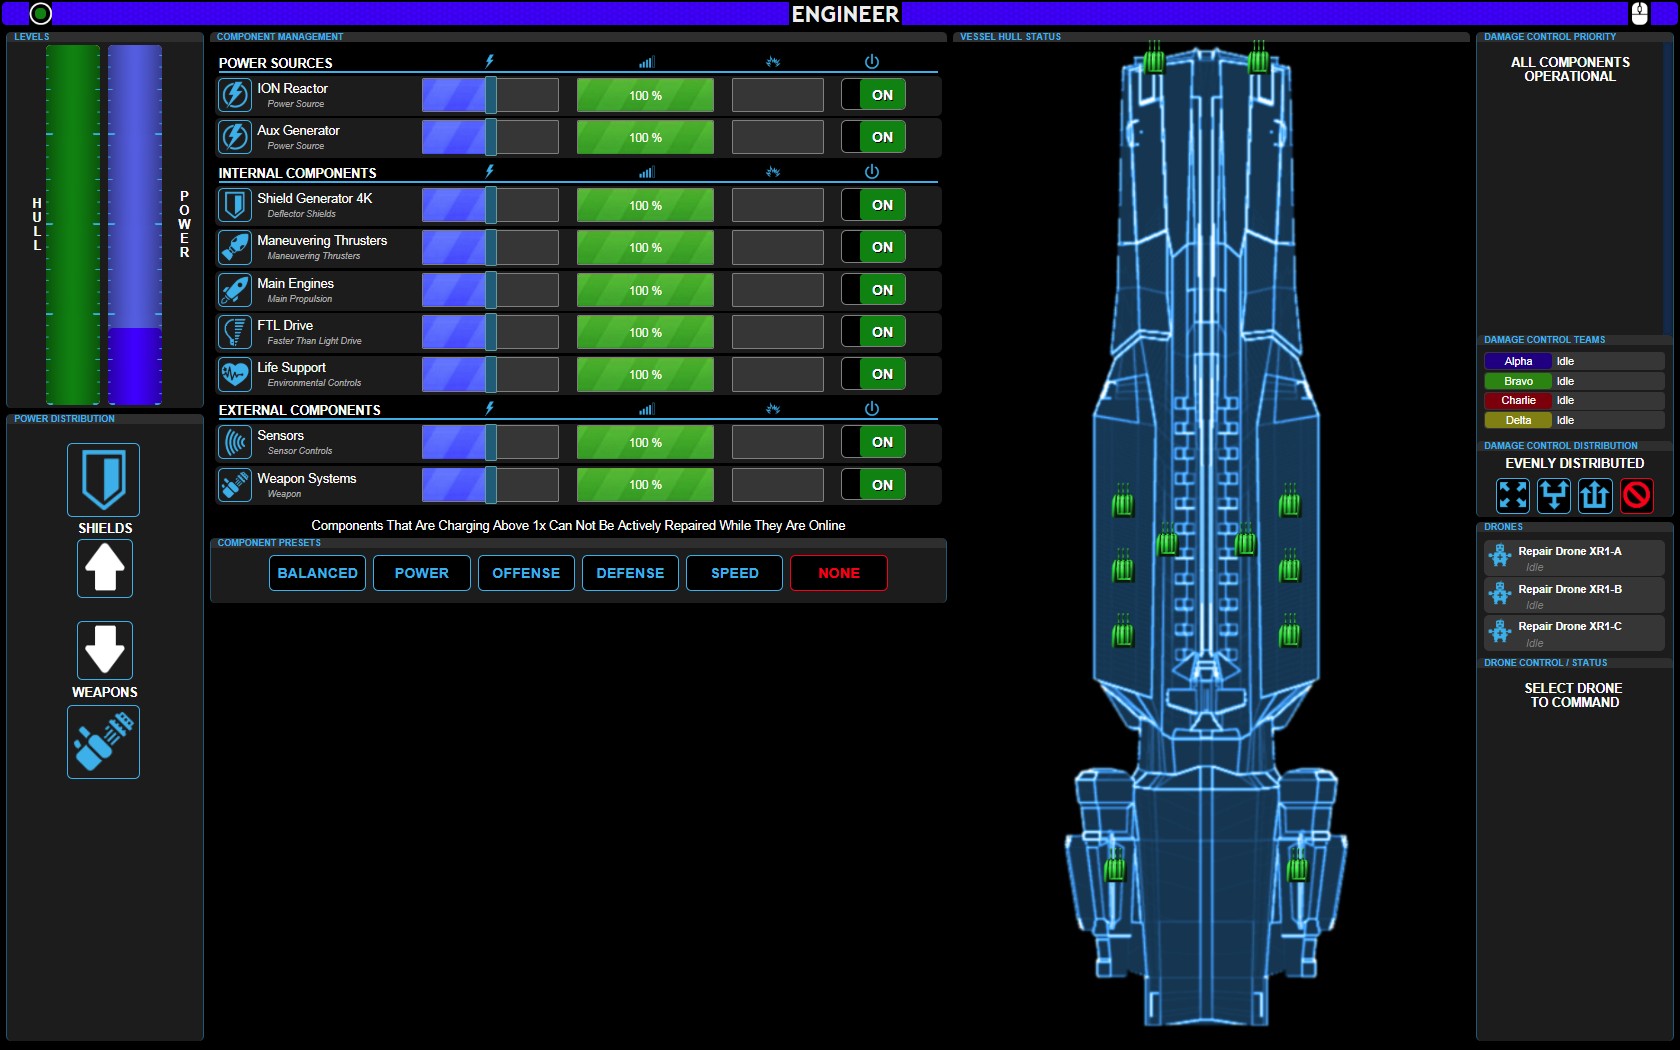
Hull and Power Meters
The Hull and Power Meters are located in the upper left of the Engineering Console Screen. Each Meter can show 3 possible colors. The HULL meter is Dark green, Light green and gray.. The Power meter is the same except with Dark Blue, Light Blue and Gray.
The Hull and Power Meters in the Engineering Console show the Current Hull and Current Power levels of the ship.
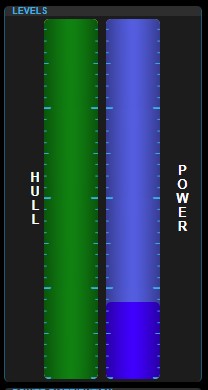
The pic to the left shows a ships HULL in perfect condition – ALL solid green.
The Power Meter on the right uses light blue to show power output and dark blue to show what power is AVAILABLE.
This meter shows that the reactor is putting out 100% and is using about 75% its power output capacity, with about 25% of power that is being output but not used.
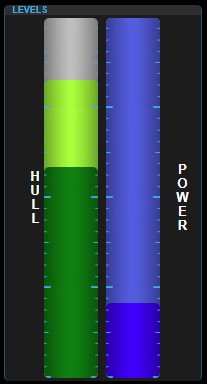
As said above, the Hull meter has three possible colors. A darker green for intact hull, a lighter green which is REPAIRABLE hull and a light gray which shows UN-Repairable hull.
This shows a ship after a battle or other damage. About 15% of the hull is UN-Repairable.
You can send your Repair Drones (see below) out to Repair the LIGHT GREEN section of the hull that is damaged and IS repairable.
Damage Control
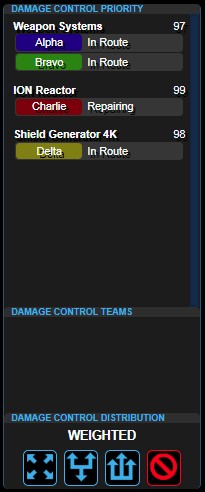
Damage control teams attempt to repair the ship. They are directed.
NOTICE: They can NOT repair a system that is being pushed beyond its capacity. If the Damage Control team is NOT responding to a damaged system, verify the damaged system is at 1X power or below.
Repair Drones
Repair drones can be sent to fix OUR ship OR other ships and stations.
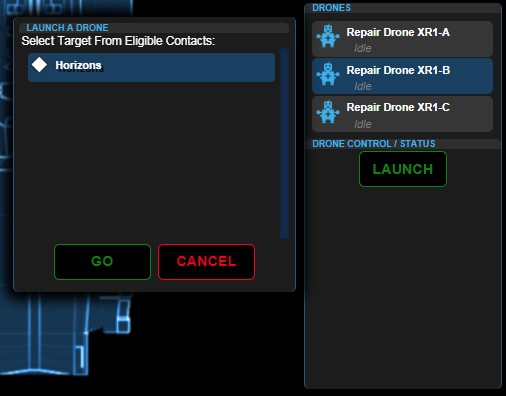
Select one of the drones, press the LAUNCH button, select the TARGET, then push GO.
The drone will launch, repair the target and AUTO-Return to the ship.
Power Management Panel
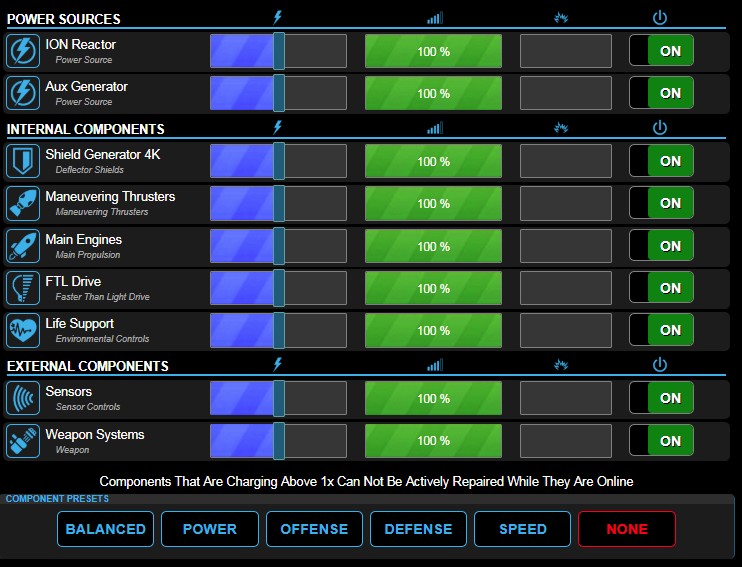
This panel has 9 Ship systems, each represented by a ROW in the panel. Each system has 5 COLUMNS. The columns are:
- System Name
- Desired Power output
- Actual Power Output
- Current Damage to the system
- System On/Off toggle
Power Output Sliders
The 2nd column of blue-striped left/right sliders is the POWER OUTPUT selector.
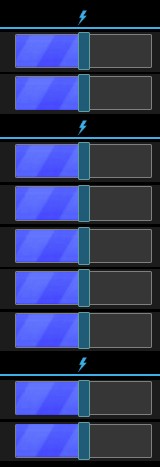
The power sliders default position is in the center of the slider range. At this setting, the power desired is 100% of that system.
As the Engineer, you may choose to OVERPOWER the system to get more out of it. Unfortunately, you do this at a cost. The first cost is that you LOSE the ability to have a Damage Repair Crew fix that system. Those repair people can’t go near a system that’s being overpowered. The second cost is actual damage to that system as its components were NOT designed to be pushed to that level and those components start to fail.
Actual System Output
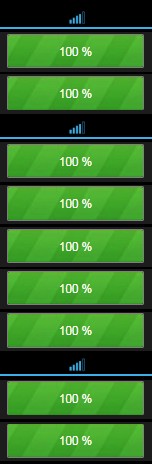 These are an INDICATOR only and don’t have anything that is selectable or changeable.
This pic shows a ship that is fully functional. If any of the systems
System Damage Received
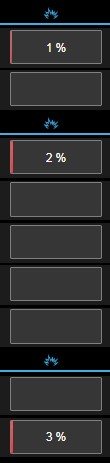
This column show the amount of damage received by the particular systems.
In this case, there’s been minor damage to 3 different systems.
A percentage indicator shows up that will allow you to tell your captain how badly damaged a particular system is.
Subsystem Toggle
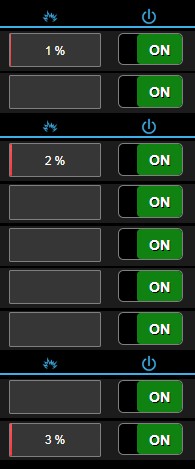 Just to the right of the Damage Sustained column, there is a column that allows you to TOGGLE on/off individual systems.